This article may contain affiliate links. If you buy through them we may earn a commission at no extra cost to you.
Smart home automation requires three layers: a central hub or platform, compatible devices (lights, locks, sensors), and automation rules that trigger actions. Start by selecting an ecosystem—Apple Home, Google Home, or Amazon Alexa—then add devices and build routines that reduce manual work. The order matters: choosing the wrong platform first means replacing devices later.
Choose Your Smart Home Platform
Your platform determines which devices work together, how fast commands execute, and whether automations run locally (faster, reliable without internet) or through the cloud (more flexible, but dependent on your connection). These are real trade-offs, not marketing distinctions.
Apple Home
Requires a HomePod mini ($99) or Apple TV 4th gen or newer ($99–$199) as a hub. Automations run on that hub, so they survive internet outages. Supports Thread, a low-power mesh wireless standard that extends device range without adding router load. Device selection is narrower than Alexa or Google Home, but privacy defaults are stricter—Apple processes most data on-device. Best fit if you already own multiple Apple devices.
Amazon Alexa
Entry point is an Echo Dot starting at $40. Automations run in the cloud, so an internet outage pauses them. Widest device compatibility of the three platforms—thousands of brands integrate. Routines are easy to configure but offer limited conditional logic (more on that below). Trade-off: Alexa collects more voice and usage data than Apple Home. Good choice if budget or device variety is your priority.
Google Home
Runs on Google Nest devices ($50–$200). Also cloud-based. Strongest natural language understanding of the three for voice commands. Automations can pull from Google Calendar and Gmail—useful for time-based triggers tied to your schedule. Device support is broad but slightly narrower than Alexa. Makes most sense if you’re already in the Google ecosystem.
A local hub that runs automations without internet is more reliable than cloud-only systems, but cloud systems offer more flexibility and easier remote access.
Select and Install Your First Devices
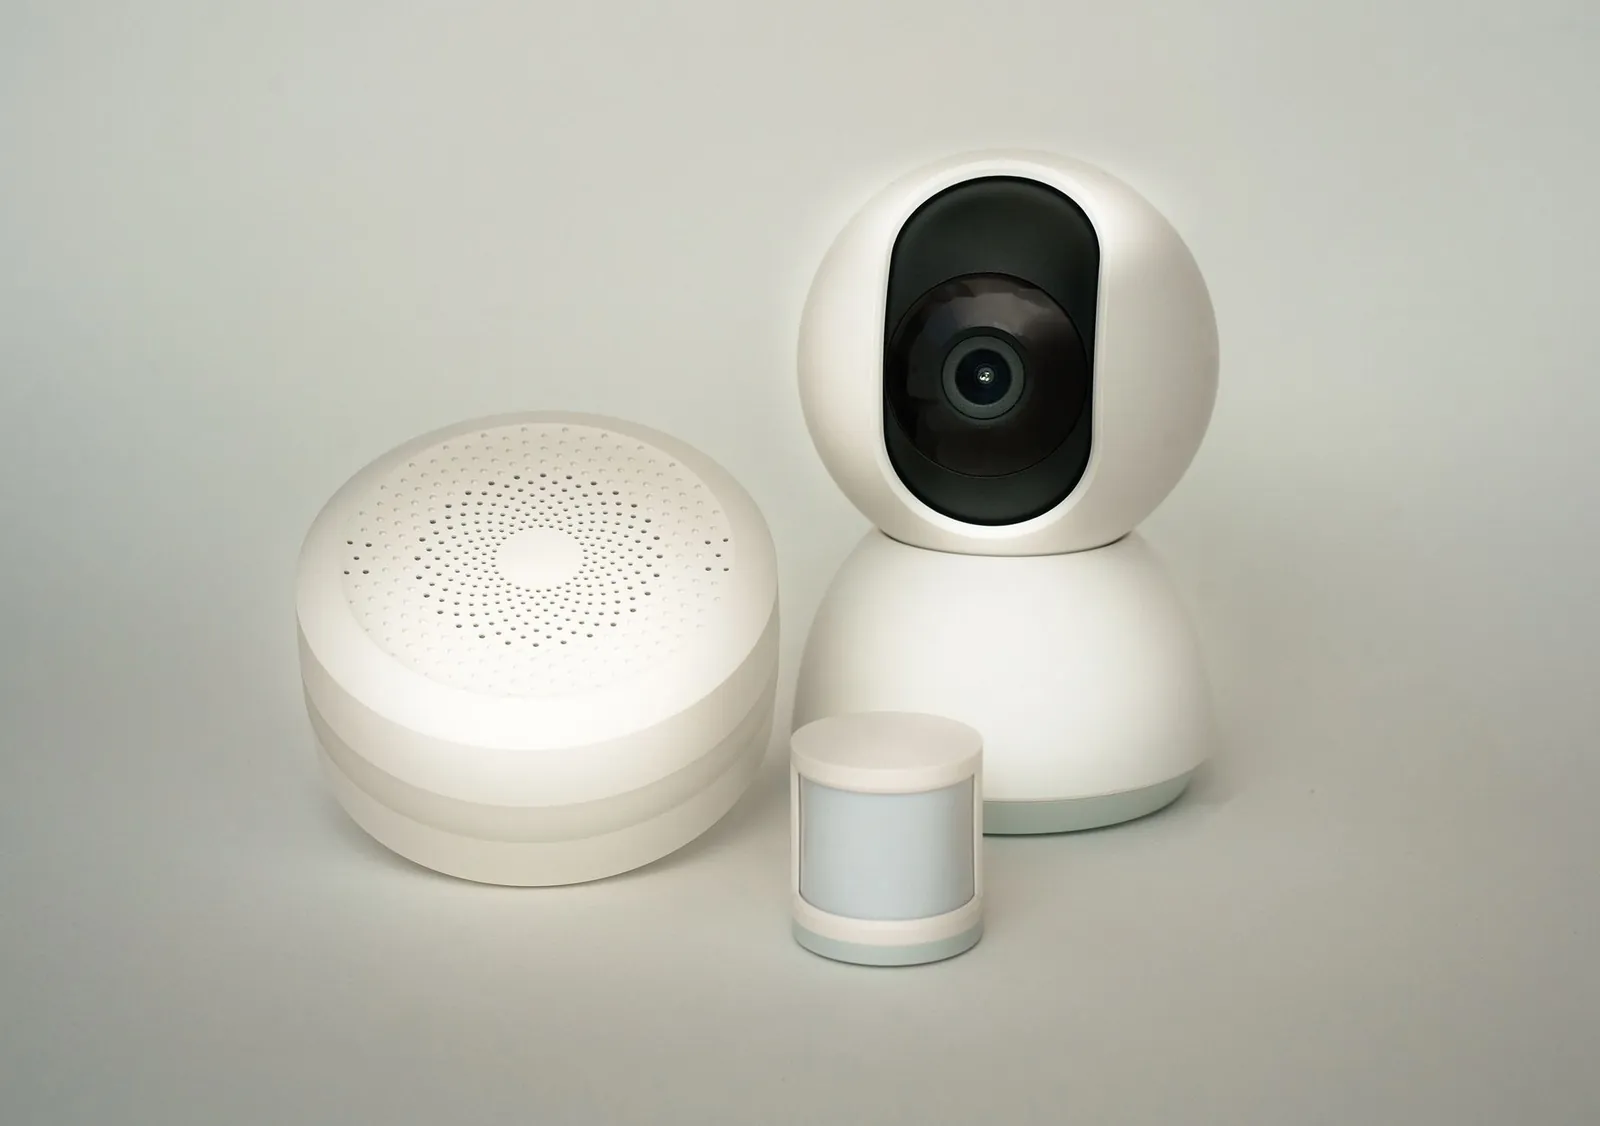
Add 3–5 devices before building complex automations. That ceiling matters: too many devices too fast makes it hard to isolate what’s broken when something fails.
Smart Lights
Philips Hue ($15–$50 per bulb) works with all three platforms via a bridge hub. LIFX ($10–$30) connects directly to Wi-Fi—no bridge needed, but each bulb consumes a Wi-Fi slot. Wyze ($8–$25) is the cheapest entry point but supports fewer third-party integrations. Installation for any of them: screw in the bulb, open the app, assign it to a room.
Smart Plugs
A smart plug turns any corded device into a controllable one without rewiring. Wyze Smart Plug ($6–$10), Amazon Smart Plug ($15–$25), and Eve Energy ($30) all let you schedule or remotely control lamps, fans, and small appliances. They’re also useful for testing automation logic before you commit to more expensive dedicated devices.
Smart Locks
Three distinct installation types exist, and the right one depends on your door and skill level:
- Level Lock ($300–$350): Fits inside your existing deadbolt mechanism—invisible from outside. Works with all platforms. Requires either a locksmith or confident DIY skills; installation takes 30–60 minutes.
- August Smart Lock ($150–$200): Mounts on the interior side of your existing deadbolt, leaving the exterior unchanged. Typically 15–30 minutes with basic tools.
- Schlage Encode ($200–$300): Replaces the entire lock assembly. Most secure option but requires the most work—plan 30–45 minutes.
Sensors
Sensors are the cheapest way to add automation triggers. Door and window sensors ($10–$30) detect open or closed states. Motion sensors ($15–$40) trigger lights or alerts. Temperature sensors ($20–$50) let you monitor individual rooms rather than relying on a single thermostat reading. Eve makes reliable options across all three platforms; Wyze sensors work best within the Alexa or Google ecosystems.
Set Up Network and Connectivity
Most smart devices communicate over Wi-Fi, Zigbee, Z-Wave, or Thread. Your platform choice determines which protocols are relevant.
Wi-Fi devices connect directly to your router—easy to set up, but each one consumes a device slot and drains more power than mesh alternatives. Zigbee and Z-Wave use mesh networking: each device relays signals through others, extending range and reducing router load. Thread works the same way and is Apple’s current preferred standard. For Apple Home, a HomePod mini ($99) acts as both a hub and a Thread border router, which improves reliability for Thread devices throughout your home.
Confirm your router broadcasts on 2.4 GHz—most smart home devices don’t support 5 GHz. If you have a large home or thick concrete or brick walls, a mesh Wi-Fi system ($150–$400) will reduce dead zones more reliably than repositioning a single router.
Create Your First Automations
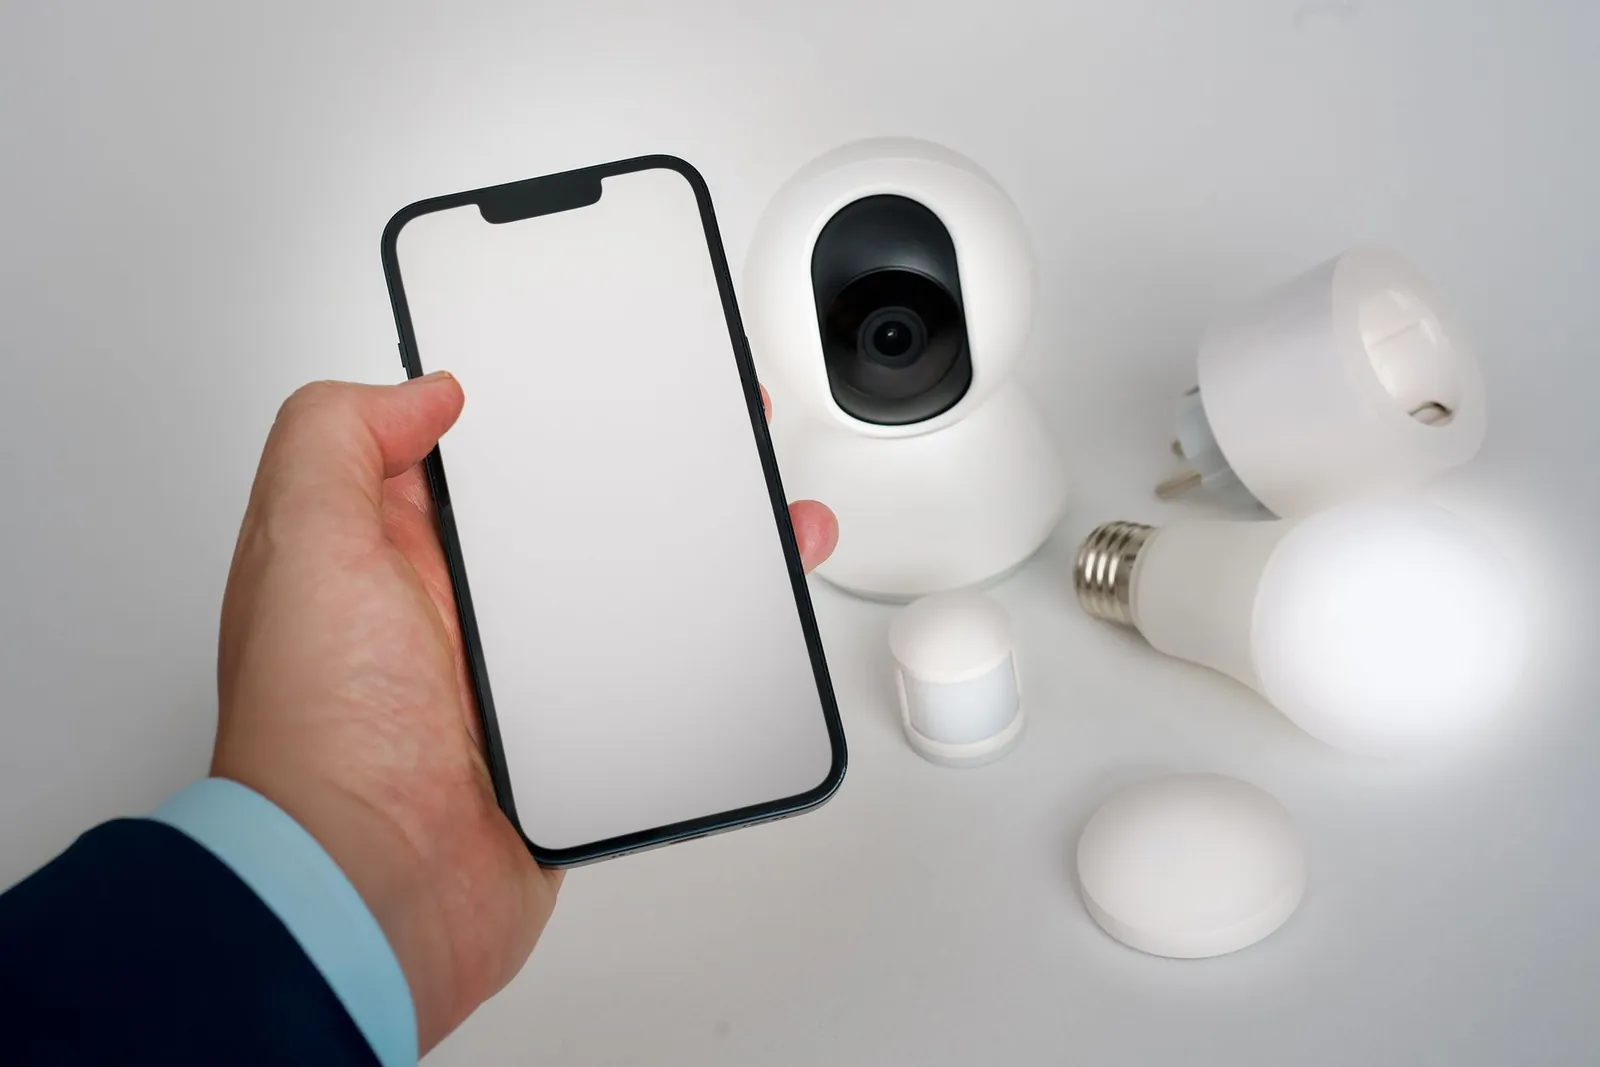
Automations are if-then rules. Start with single-action automations; add complexity only after the simple ones run without false triggers for at least a week.
Time-Based Automations
Turn lights on at sunset, off at midnight. Start your coffee maker at 7 AM on weekdays. These are the most reliable automation type because they don’t depend on sensors or GPS—they run on schedule regardless of internet speed.
Sensor-Based Automations
A motion sensor triggers hallway lights; a door sensor alerts you when someone enters. Response time depends on your setup: local hubs typically execute in 1–3 seconds, cloud-based systems in 5–10 seconds. That gap is noticeable for lights but rarely matters for alerts.
Location-Based Automations
Unlock your door when you arrive home; turn off all lights when everyone leaves. These depend on your phone’s GPS and cellular signal, so accuracy varies. Test location automations carefully before relying on them—false triggers can lock you out or cut lights while someone is still home.
Conditional Automations
Turn on bedroom lights only if it’s dark outside and motion is detected. Apple Home and Google Home support conditional logic natively. Alexa routines have limited conditional support—you can set time windows, but combining multiple sensor conditions requires workarounds or a third-party app like IFTTT. Conditions reduce false triggers and are worth the added setup time.
Ensure Reliability and Security
Smart home systems fail silently. A broken automation won’t alert you, so schedule a monthly check: open your app, run each automation manually, confirm it executes.
Most manufacturers push firmware updates automatically, but verify in your app monthly—outdated firmware is both a security risk and a common cause of broken automations. Enable two-factor authentication on your platform account (Apple ID, Amazon, or Google). Use platform-native guest or family access rather than sharing your main credentials; it lets you revoke access without changing your password.
If your router supports guest networks, put smart home devices on a separate SSID. This isolates them from computers and phones that hold sensitive data—a compromised smart plug can’t reach your laptop on a different network segment.
For cameras and locks specifically, see best smart home security system budget and smart home security: wired vs wireless for detailed hardening guidance.
Expand and Optimize Over Time
After your first month, you’ll know which automations save time and which you manually override. Override frequency is a reliable signal: if you’re turning something off by hand more than twice a week, the automation logic is wrong—fix it or remove it.
Add devices based on a specific problem. Cold rooms in winter point to a smart thermostat ($150–$300). Concerns about water damage point to a leak sensor ($30–$80). Buying devices without a clear trigger creates clutter and adds failure points with no payoff.
Keep a running note or spreadsheet of your automations: what triggers each one, what it does, and why it exists. When something breaks at 11 PM, that document cuts your troubleshooting time from 30 minutes to 5.
Frequently asked questions
Do I need a hub for every smart home platform?
Apple Home requires a hub (HomePod mini or Apple TV). Amazon Alexa and Google Home work without a dedicated hub—the Echo or Nest device itself handles that role—but a hub enables automations when you’re away from home. Some devices like LIFX bulbs and Wyze plugs connect directly to Wi-Fi and don’t require a hub at all, regardless of platform.
What’s the difference between a routine and an automation?
A routine is triggered manually—say “Alexa, good night” and your lights turn off. An automation runs on its own when a condition is met, like lights turning off at 11 PM regardless of whether anyone asks. Routines are faster to configure; automations save the most ongoing effort.
Can I use devices from different brands together?
Yes, if they support the same platform. A Philips Hue light and a Wyze camera can both integrate with Apple Home even though they’re different brands. They won’t communicate directly with each other—only through your hub. Cross-brand automations work, but troubleshooting them is harder than staying within one ecosystem.
How much does a basic smart home setup cost?
A minimal setup runs $150–$300: a hub ($99–$200), 2–3 smart lights ($30–$60), and a smart plug ($15). Add a door lock ($150–$300) if security is your first priority. Automating 5–10 devices across 2–3 rooms typically costs $500–$1,000 depending on brand choices and whether you already own compatible hardware.
What happens if my internet goes down?
Local automations—Apple Home with a hub, or Zigbee/Z-Wave systems—keep running. Cloud-based automations on Alexa and Google Home pause until your connection returns. If you’re physically nearby, you can still control most devices via Bluetooth. For critical automations like door locks, this is the strongest argument for choosing a local hub over a cloud-only platform.

Dev has benchmarked laptops and phones for a decade and still reads the changelog before updating.